General
Get Started
Dashboard Access
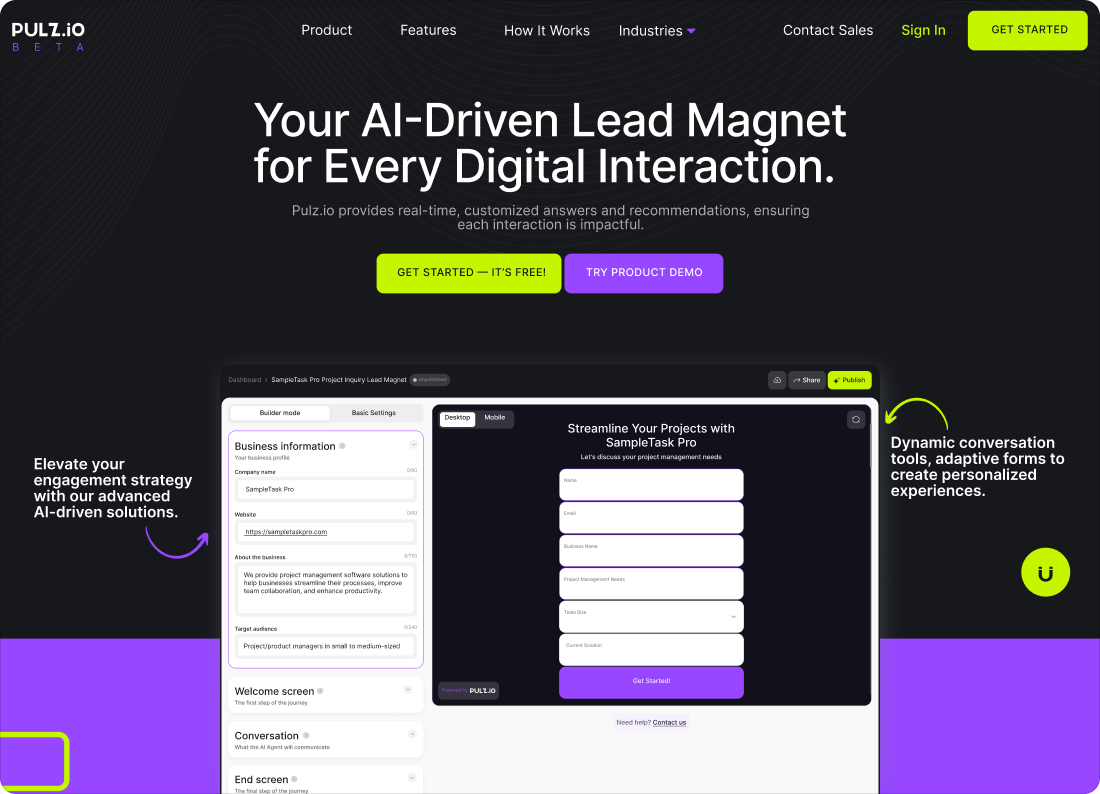
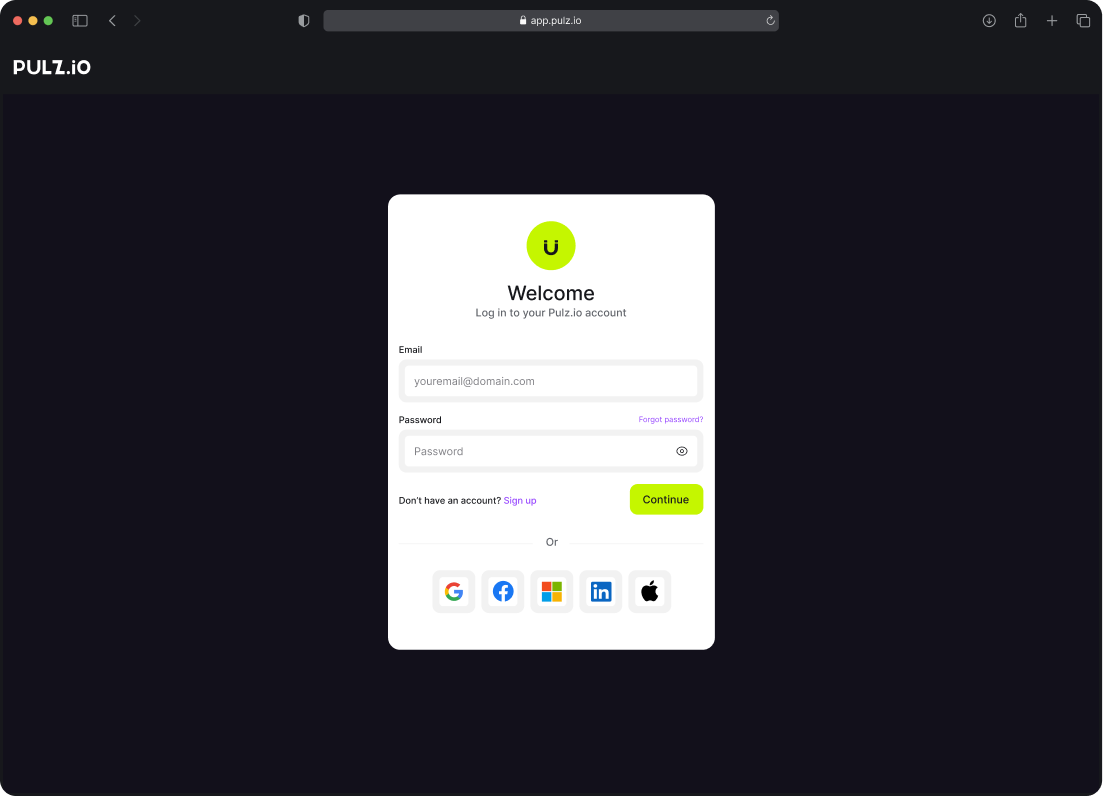
Log in to your account: Navigate to the Pulz.io website and log in using your credentials.
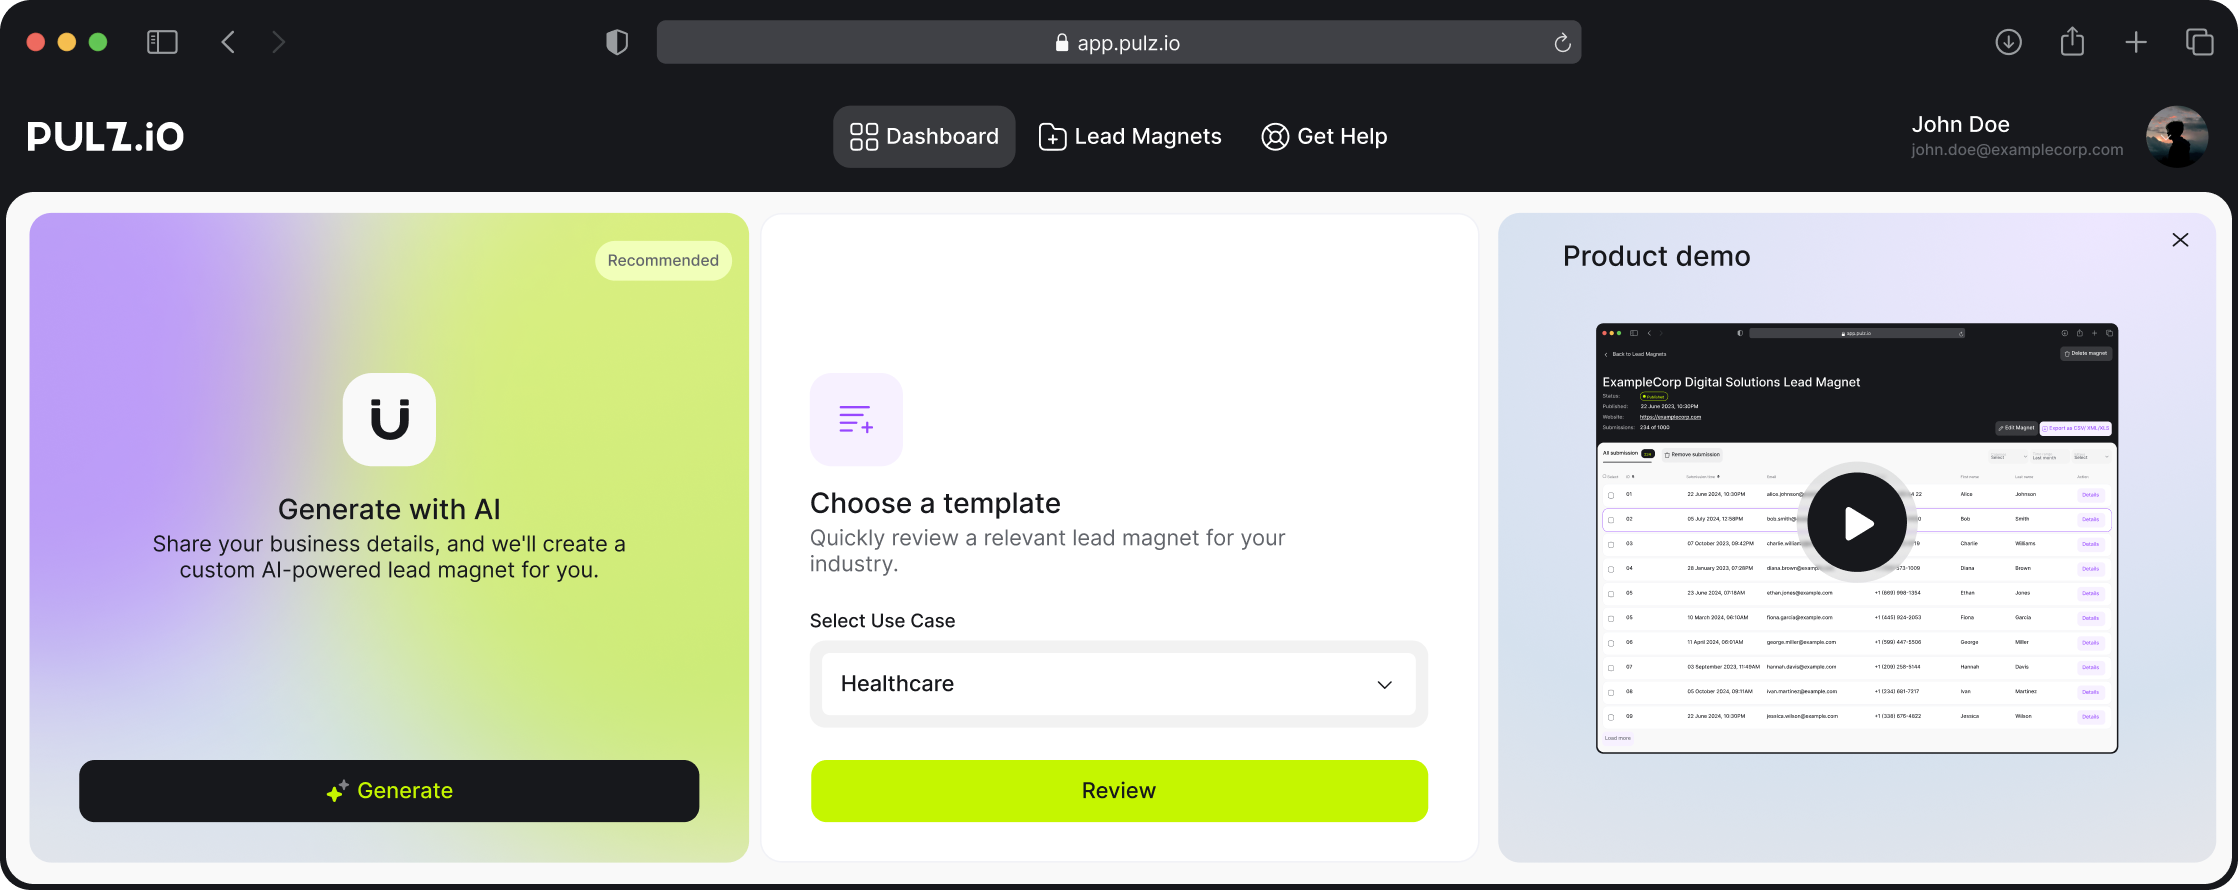
Navigate to the dashboard: Once logged in, you will be directed to the dashboard where you can manage your lead magnets, view submissions, and access other key features.
Choose Your Content Generation Method
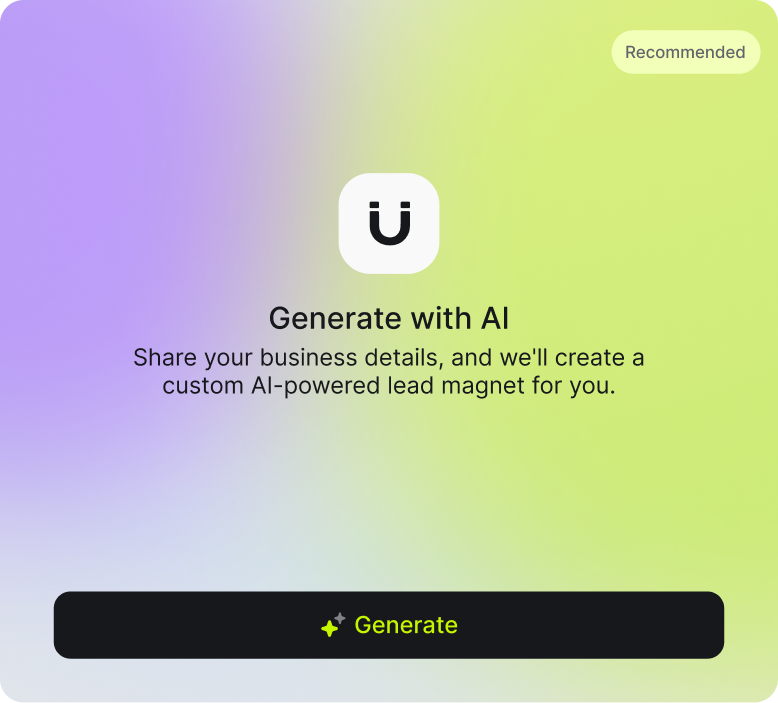
Generate with AI
Click on “Generate with AI” and provide detailed business information. Be specific and pay attention to details to ensure the AI generates accurate content.
Start with a Template
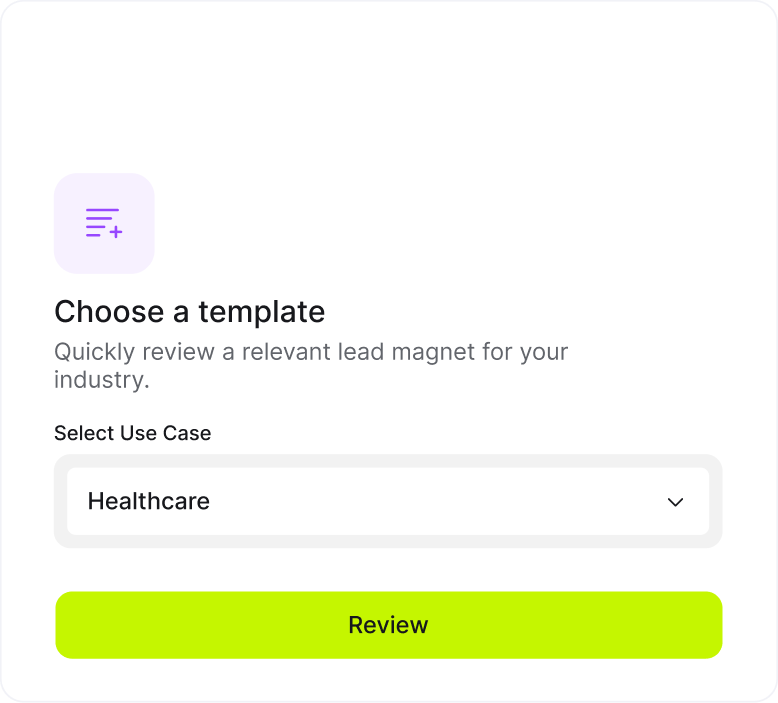
- Select Industry: Choose your industry from the dropdown menu.
- Start with a Template: Our templates cover the main industries. With one click, you can discover a generated Lead Magnet tailored to your industry. For a more specific output, please add your business information within the Lead Magnet.
Choose Format: Decide if you want to move forward with a chatbot or a form. If you choose a form, the first end-user screen will be in a form format, which will switch to a chatbot later on.
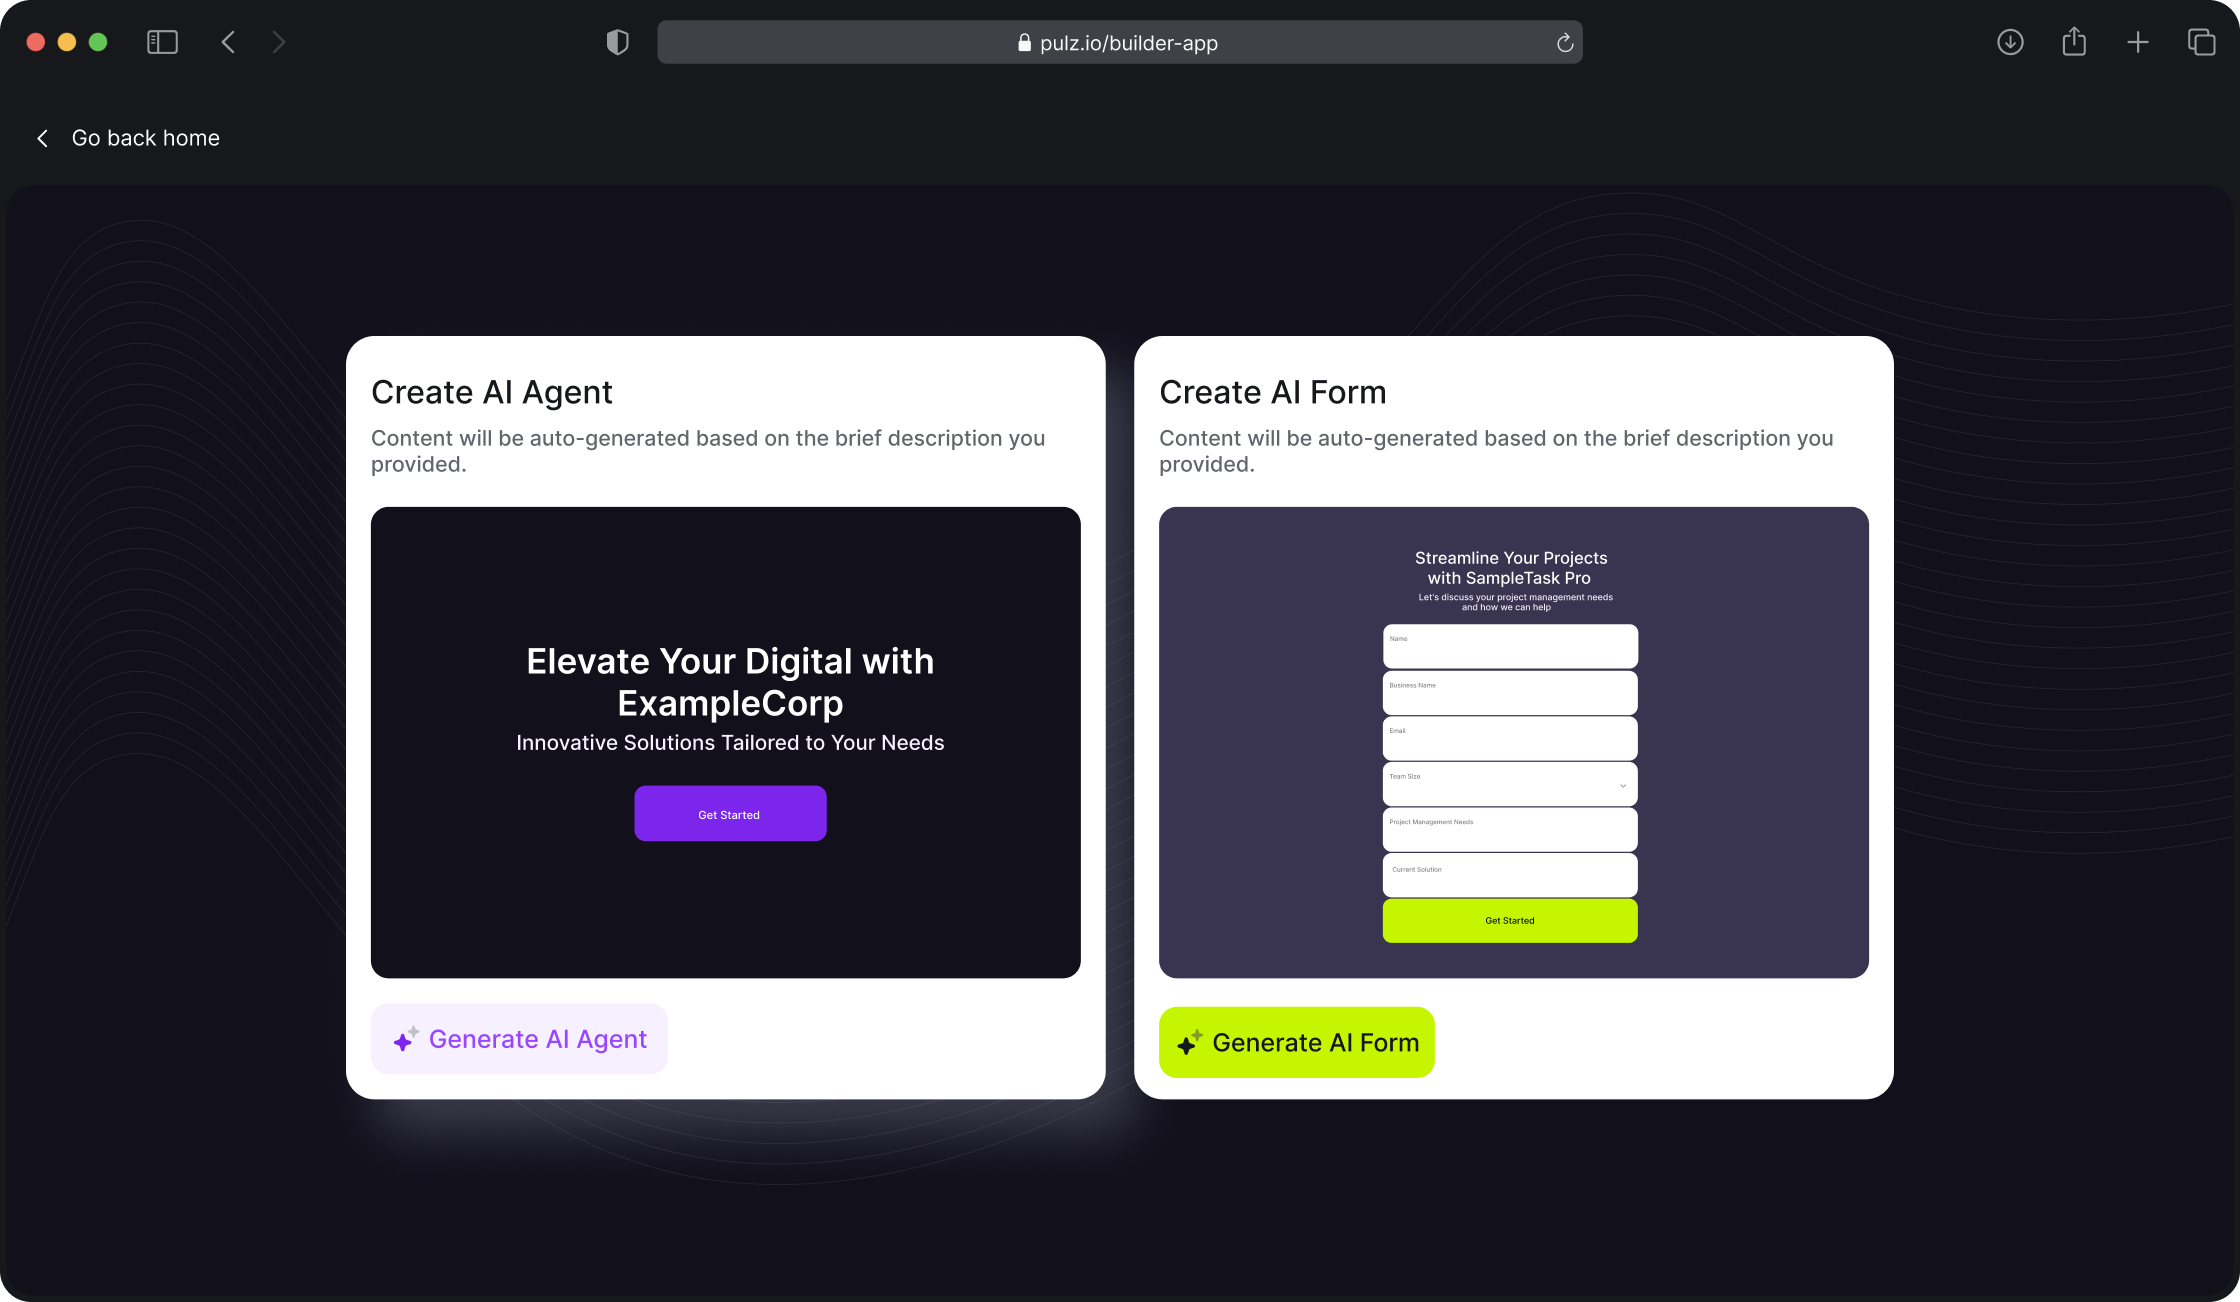
AI Generation
- Generate Lead Magnet: The AI will generate the lead magnet for you based on your inputs.
- Customize Your Lead Magnet
Business Information: This will either come from your filled business information (if generating from scratch) or you will have to fill it out if you choose a template.
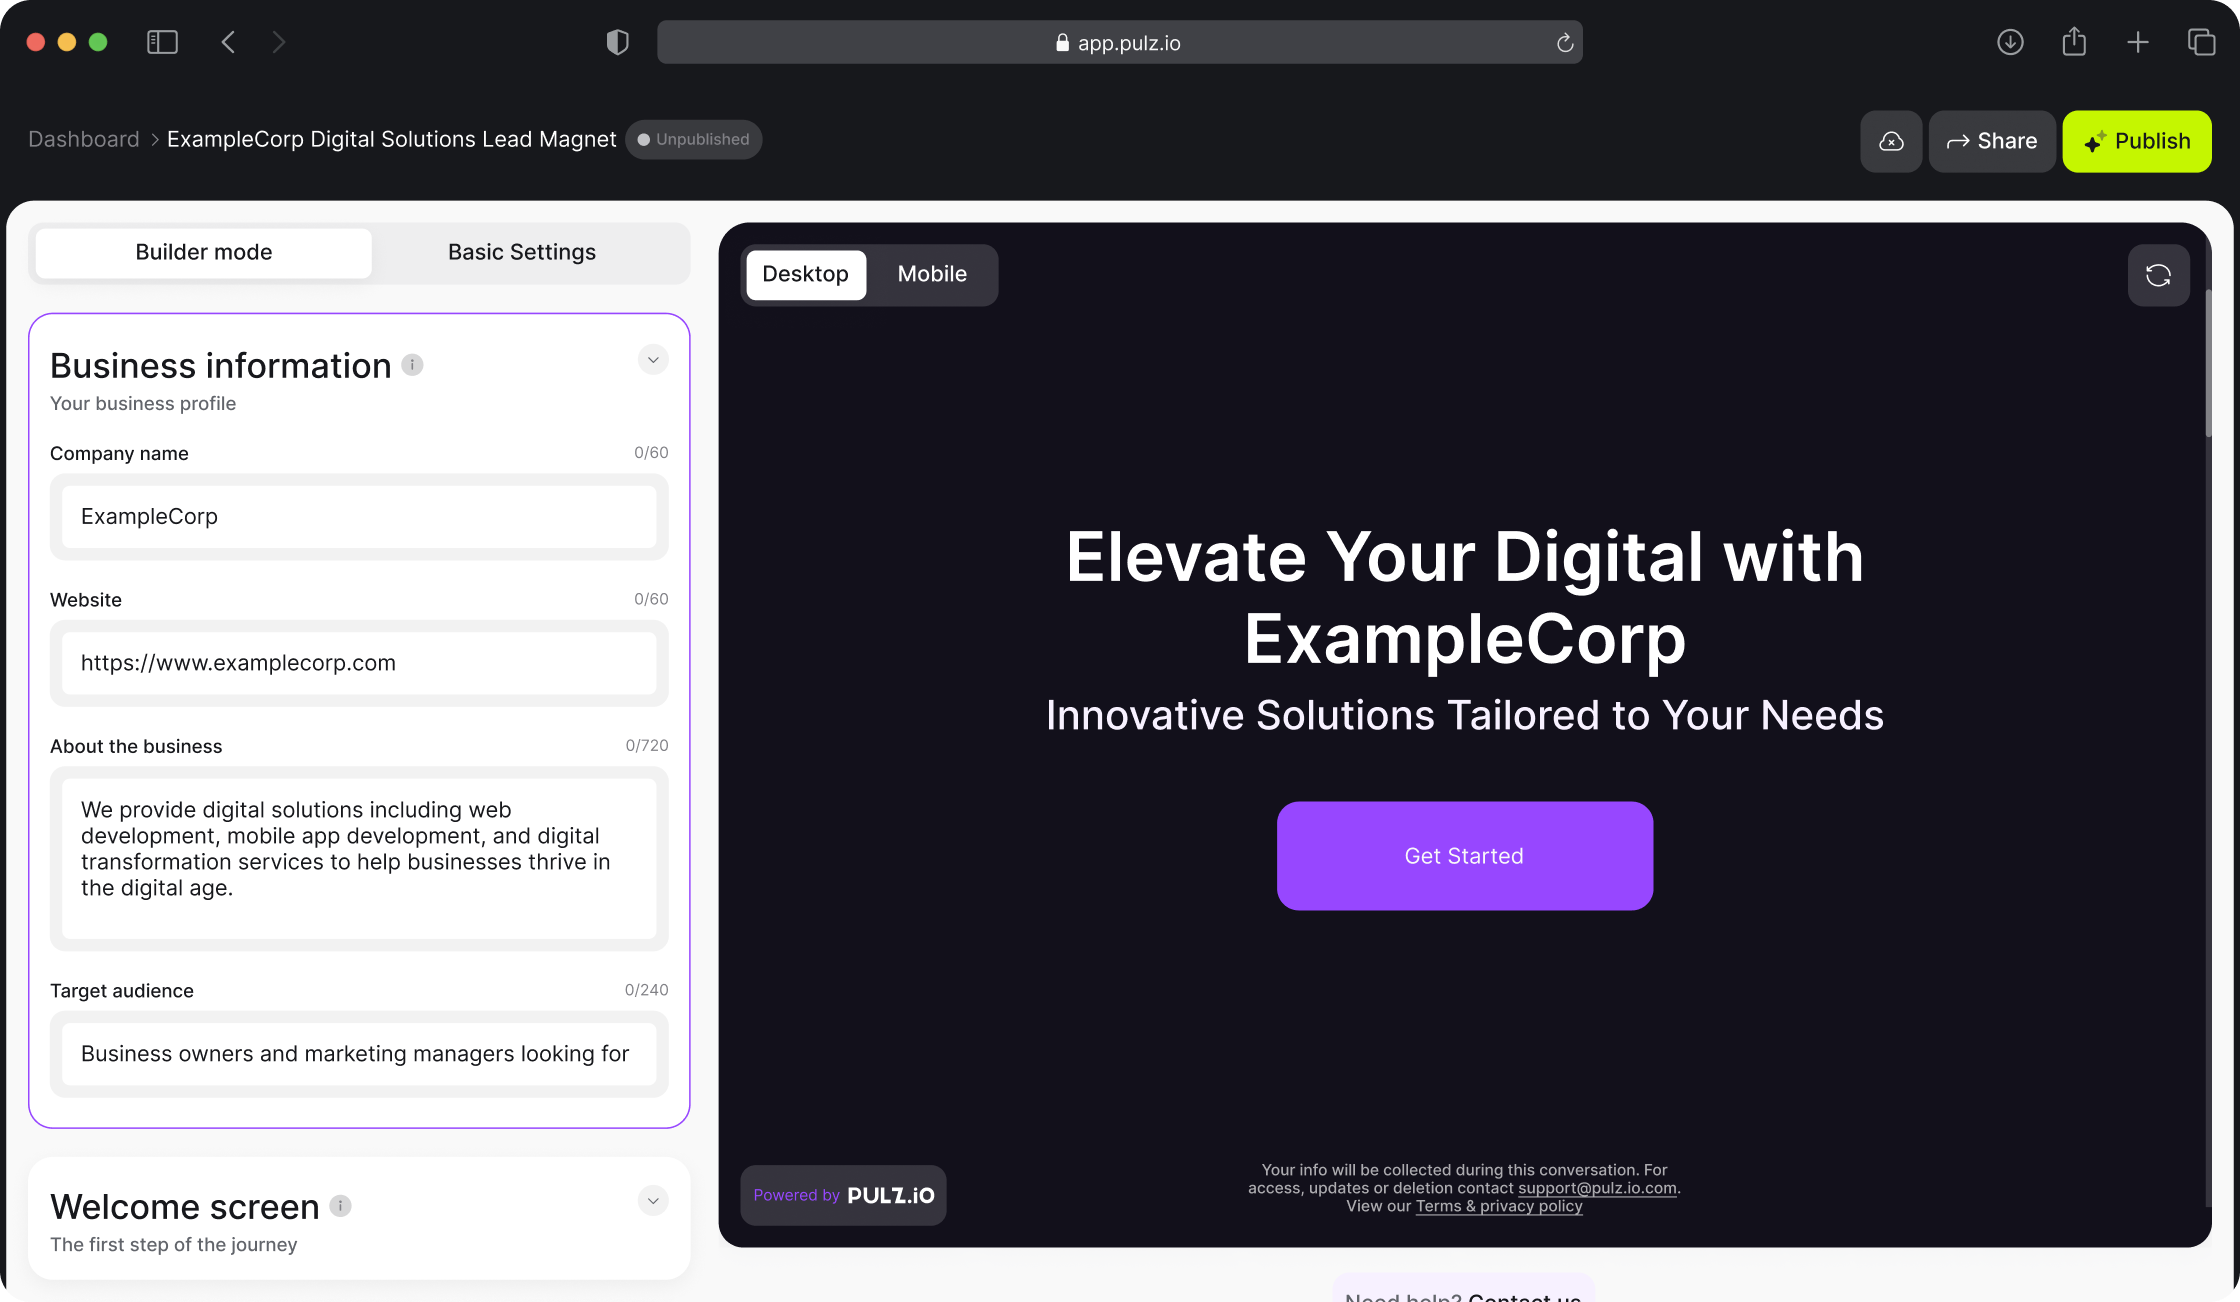
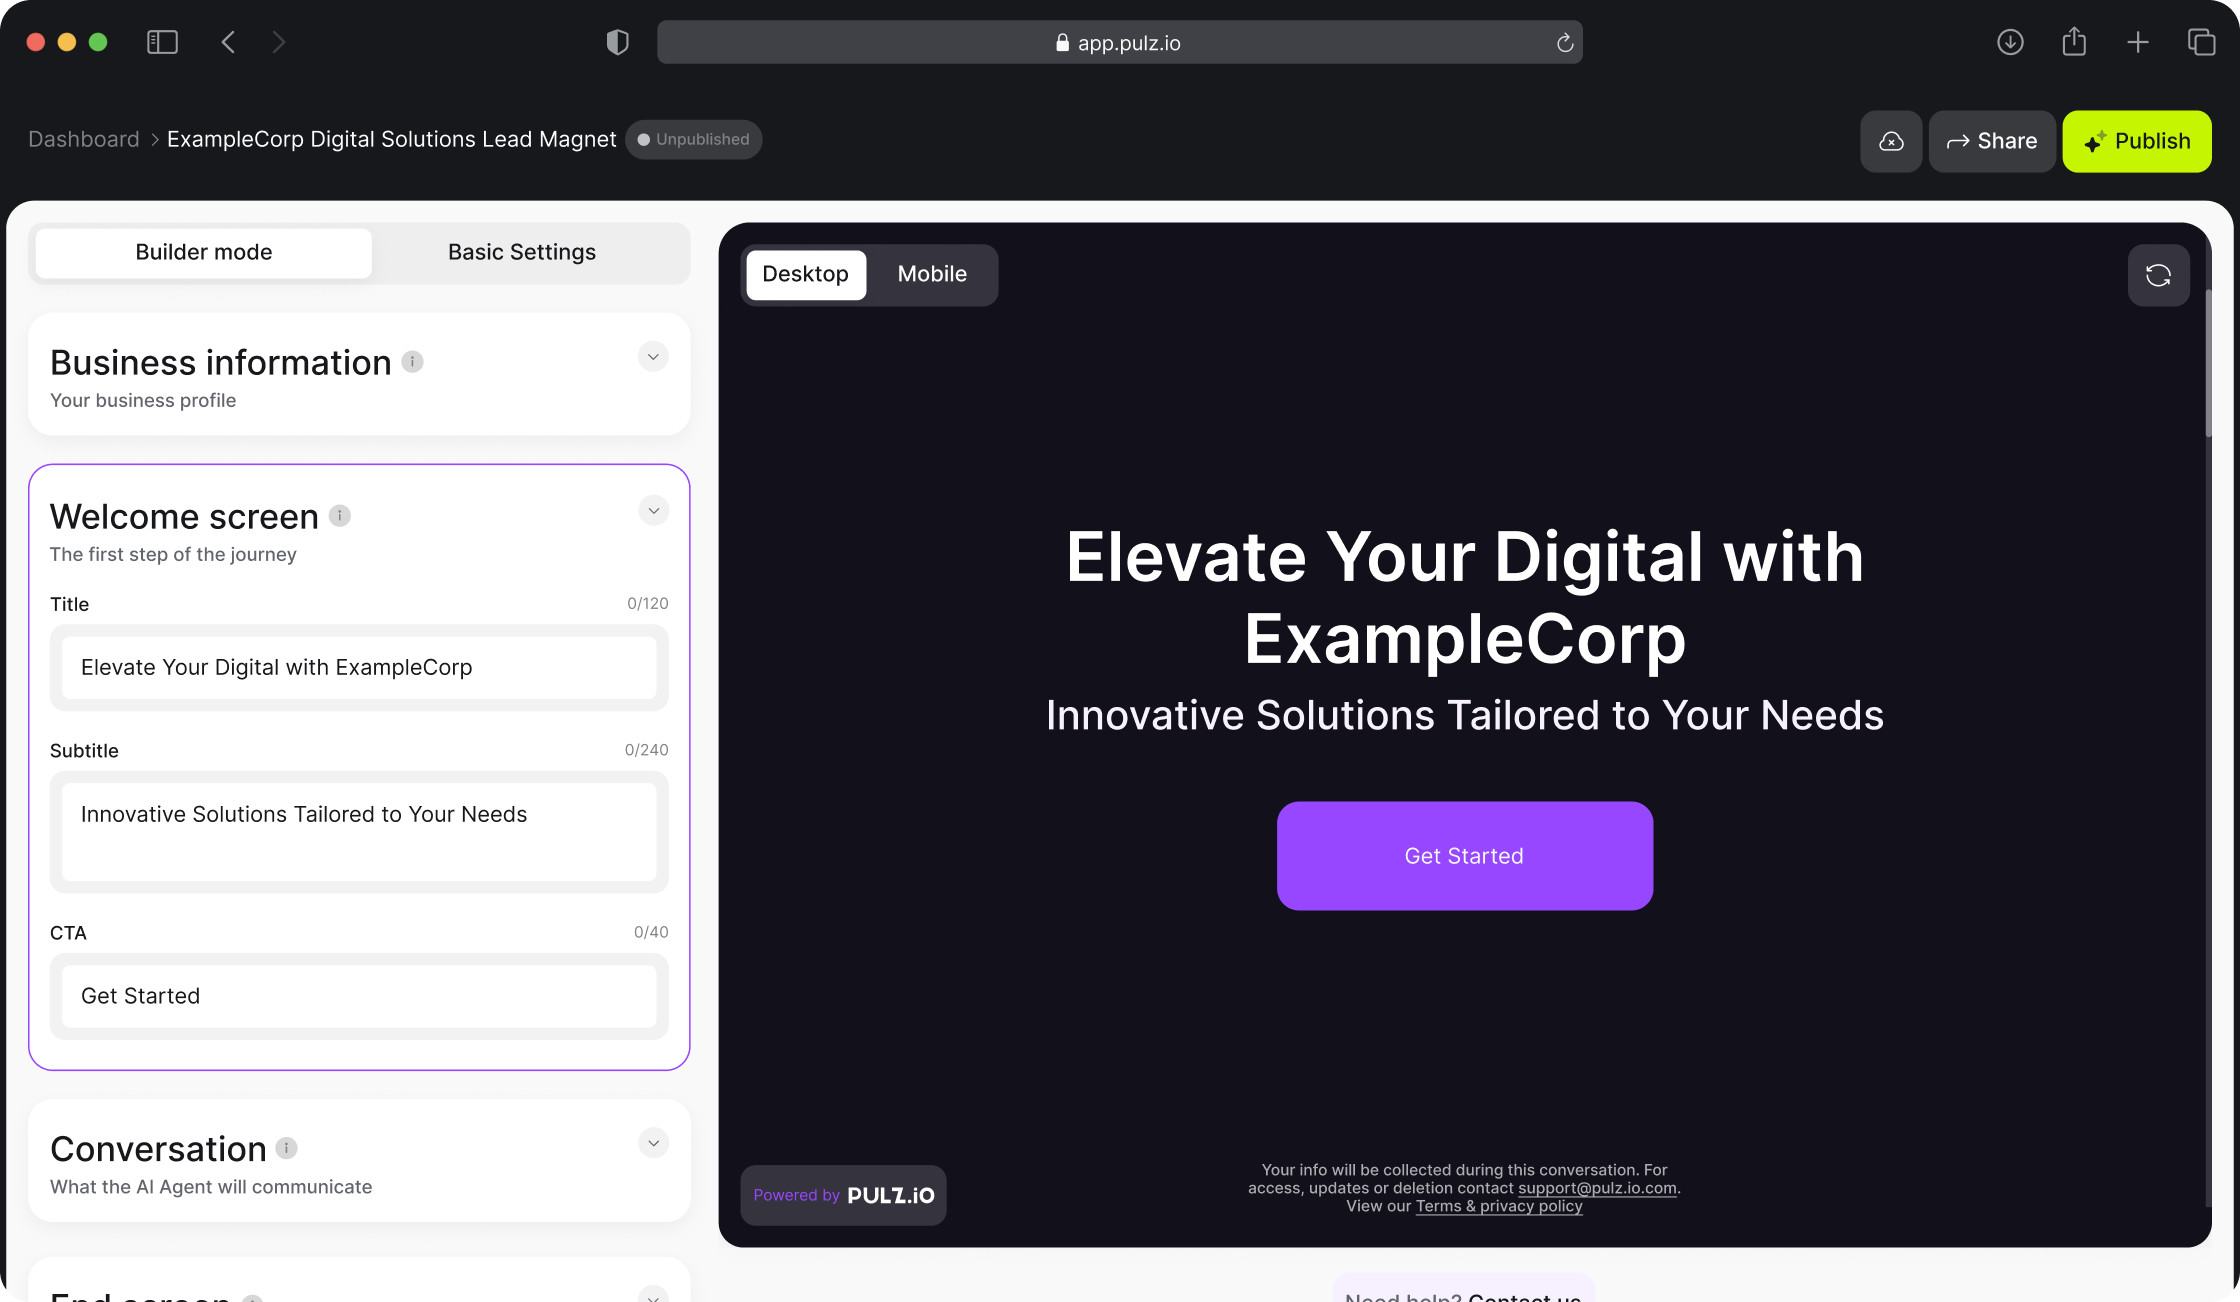
Welcome Screen: Modify the generated welcome message and the CTA button to match your brand’s tone and style. This will be your starting screen for your end users.
Conversion
Overview Input Field: This field allows you to explain what the chat will be about. Provide a clear and concise description to give users an idea of the conversation’s purpose.
Example
Overview: "This chat will guide users through the process of finding their ideal real estate property, collecting necessary information to provide personalized property recommendations."
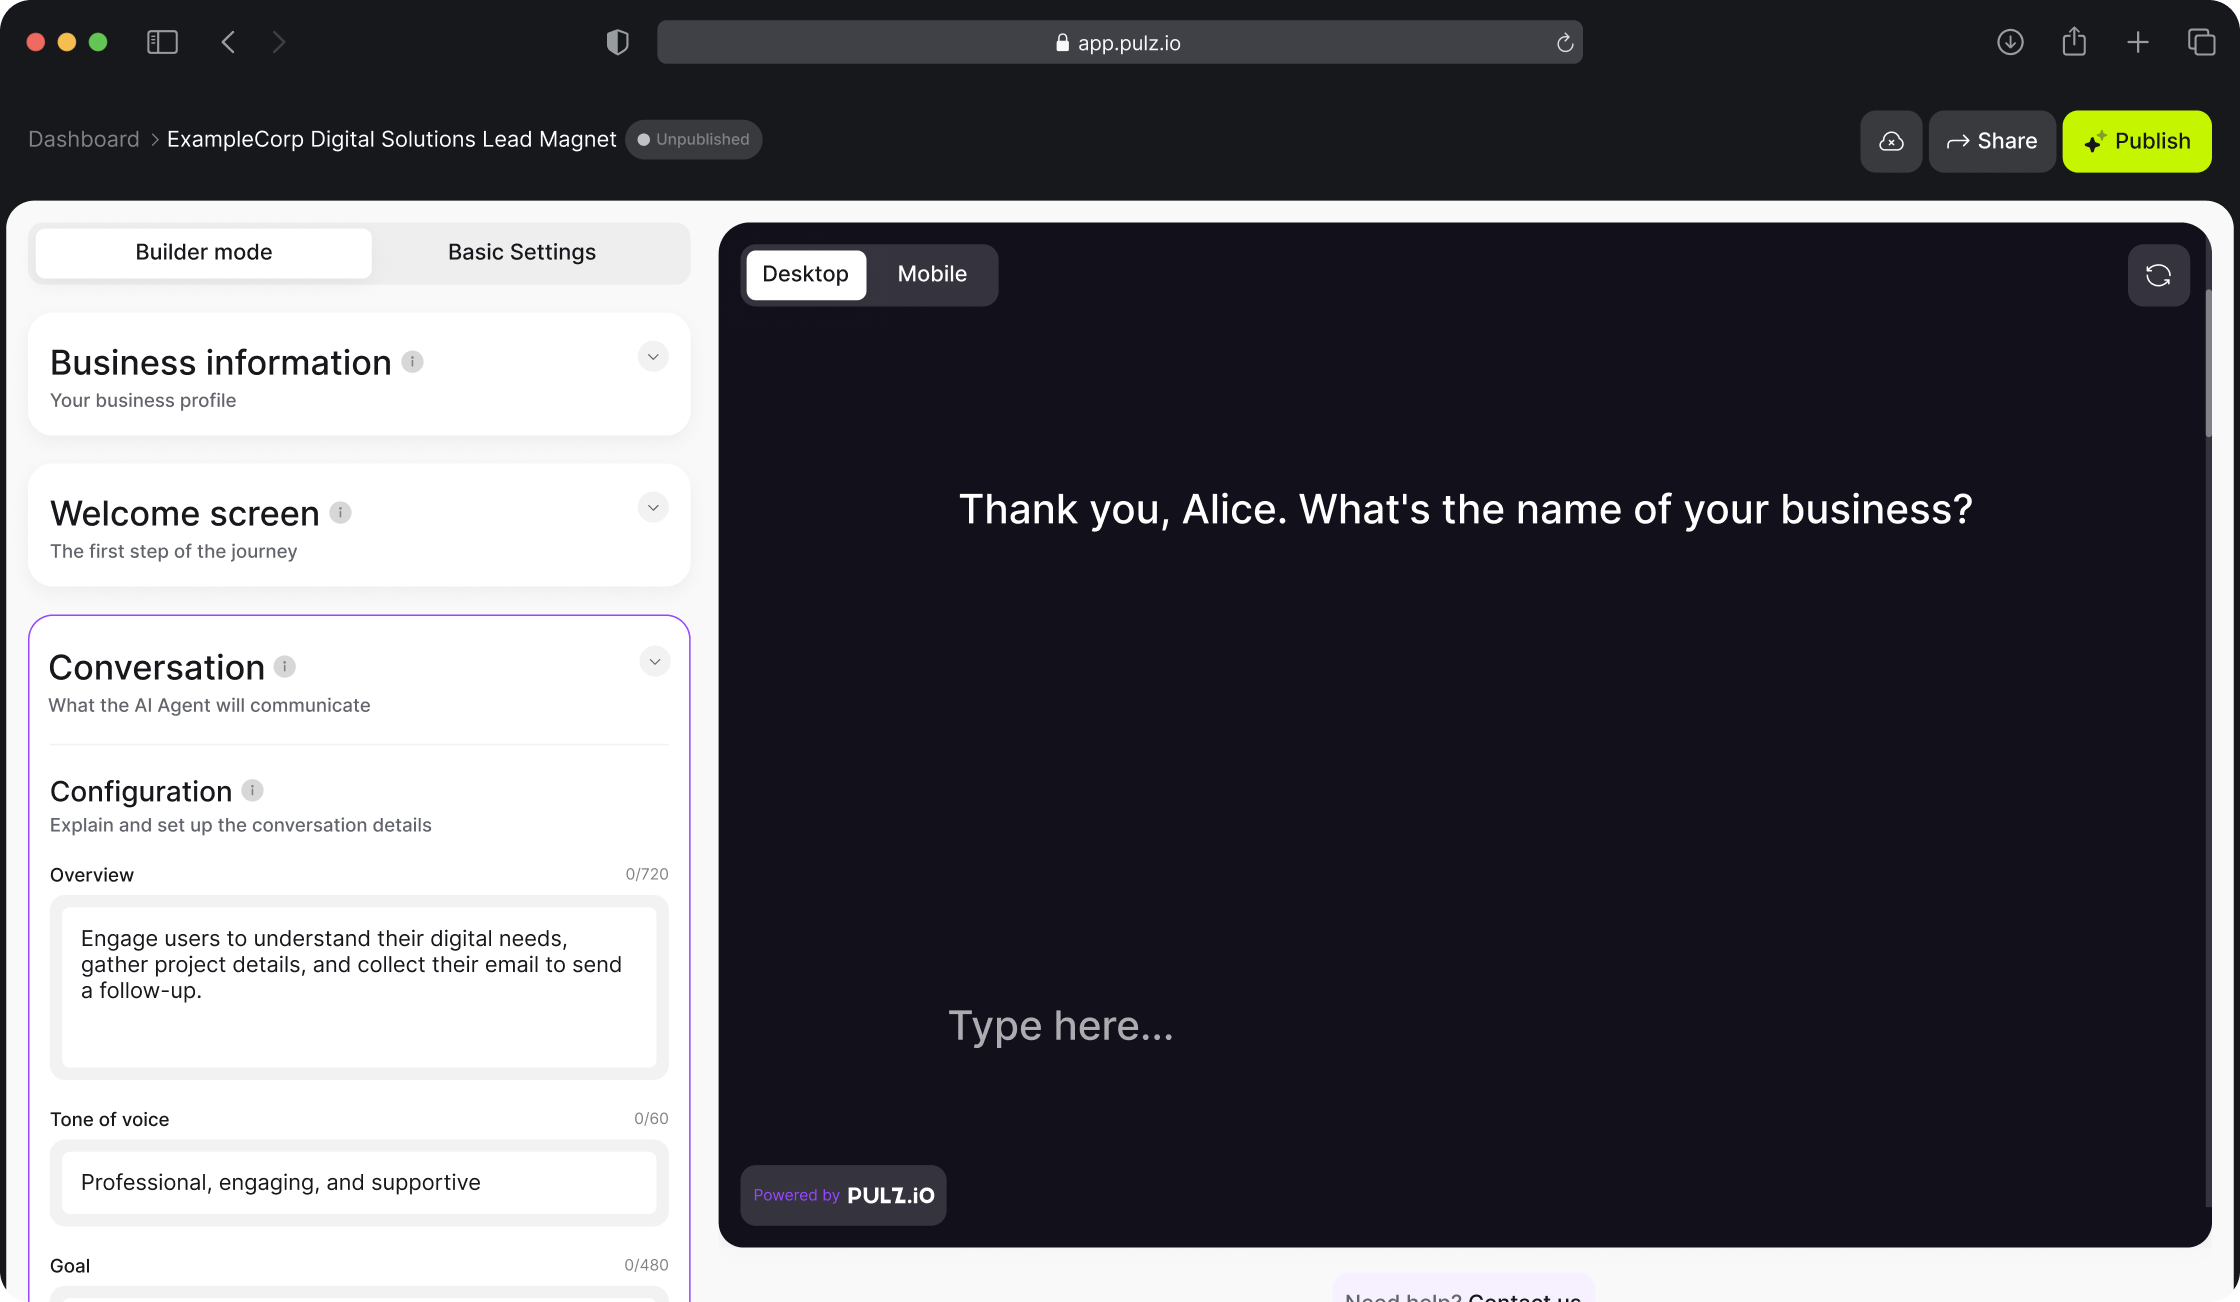
Tone of Voice Input Field: Set the tone for how the AI will communicate with users. Choose a tone that aligns with your brand and the type of interaction you want to create (e.g., formal, friendly, professional).
Example
Tone of Voice: "Friendly and engaging"
Goals Input Fields: Add multiple goals to define the overall objectives of the lead magnet. Specify what you want to achieve through the conversation.
Example:
Goals:
Collect user's name and email.
Understand the user's property preferences.
Schedule a property viewing.
Criteria Input Fields: Add multiple criteria to specify what the AI should pay attention to during the chat. This ensures the conversation remains relevant and targeted.
Example:
Criteria:
Budget above $500,000.
Preferred location or neighborhood.
Specific property features or amenities.
Journey Steps: You can add, delete, or modify the generated steps, this will be the flow which your end user will go through. Additionally, you can change the sequence of the steps to ensure a logical flow of the conversation.
Example:
Step 1: Greet the user and ask for their name.
Step 2: Ask for the user's email address.
Step 3: Inquire about the type of property the user is looking for.
Step 4: Ask about the user's preferred location or neighborhood.
Step 5: Inquire about the user's budget range.
Step 6: Ask about specific features or amenities the user is looking for.
Step 7: Inquire about the user's preferred move-in date or any other specific requirements.
Step 8: Summarize the collected information and offer to schedule a property viewing to explore suitable listings.
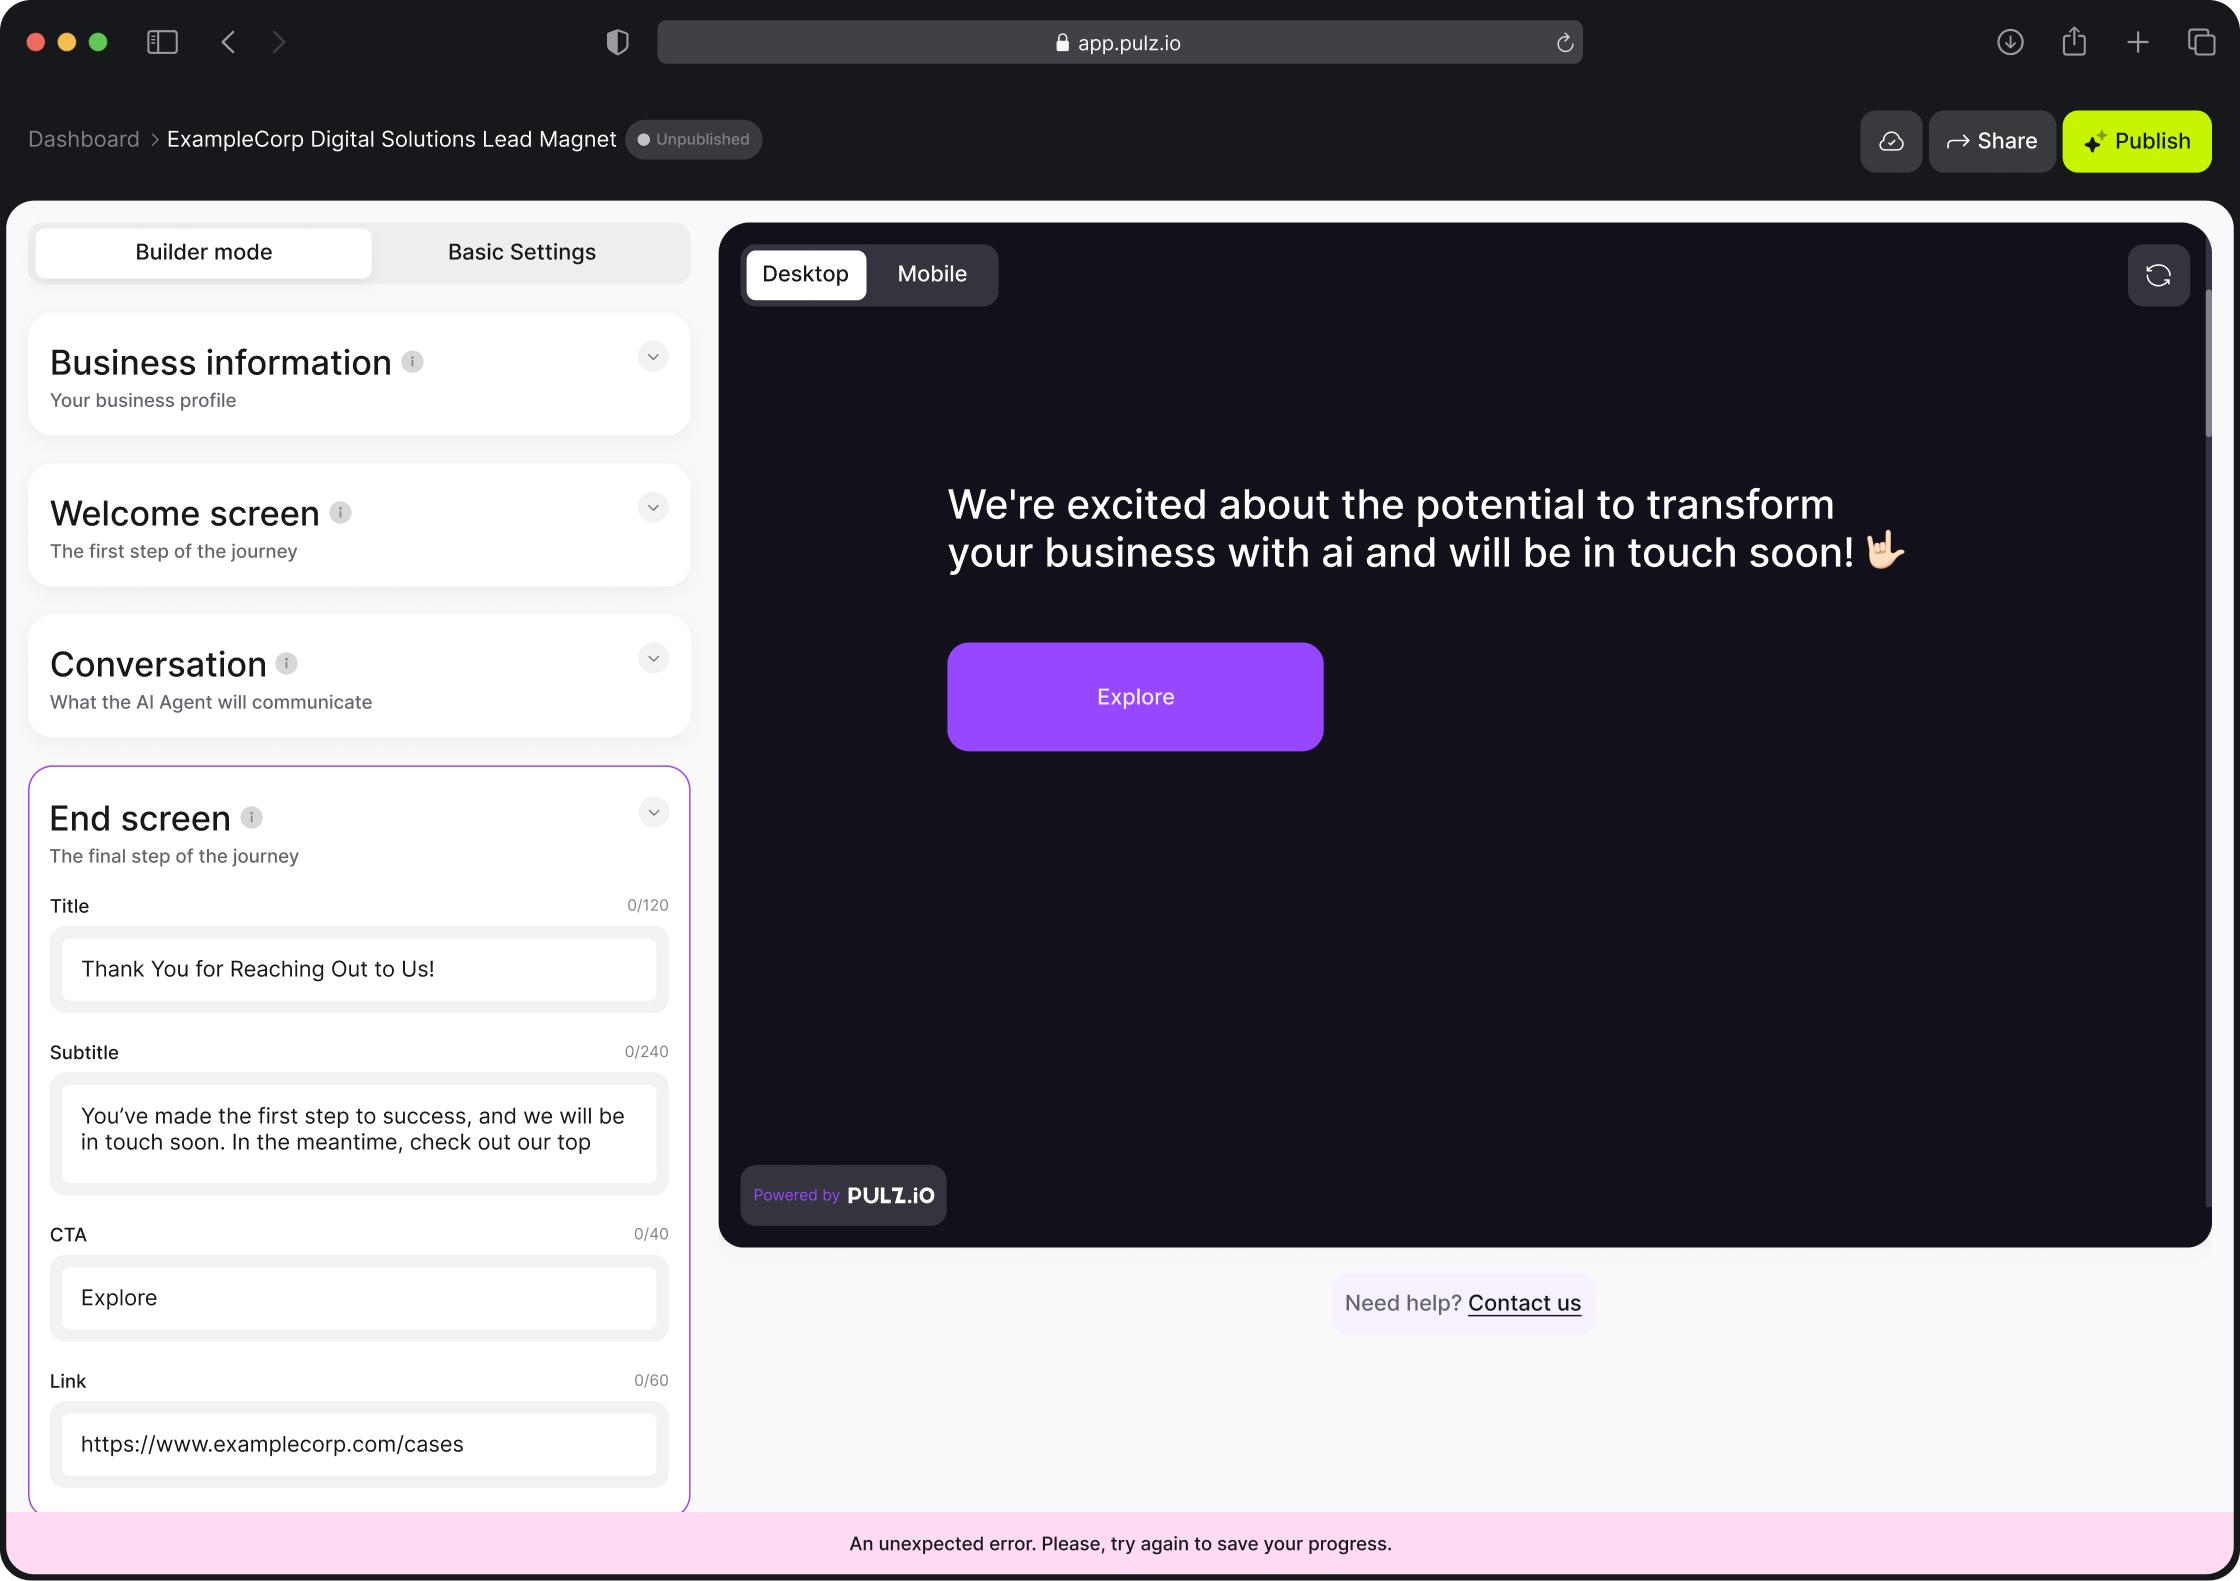
End Screen: The end screen appears after the conversation. You have the opportunity to close it with a simple message or navigate the user to a specific page/link, directing the leads accordingly.
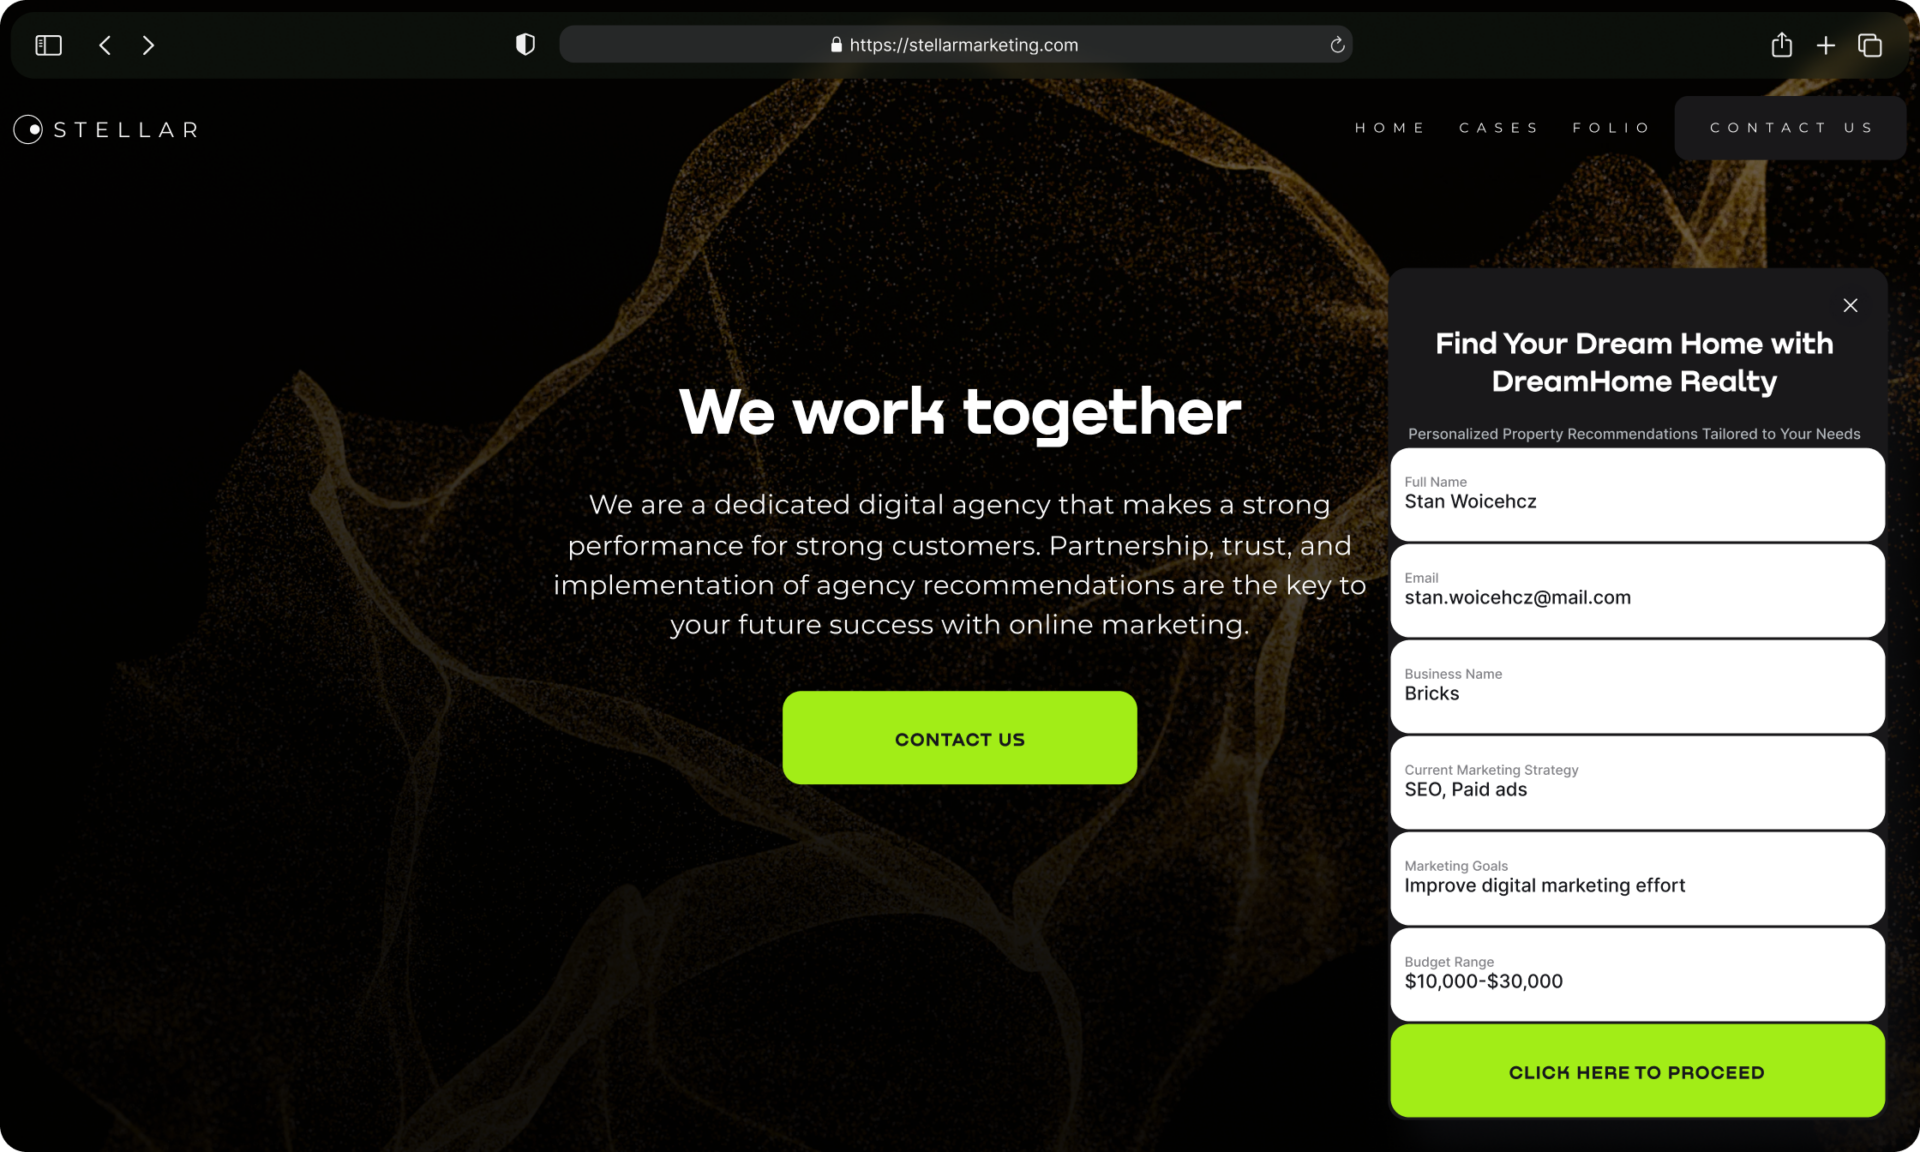
Testing Your Lead Magnet: When you are done with the fields, you can start testing your Lead Magnet. Start by filling out the form or interacting with the chatbot to ensure everything works as expected.
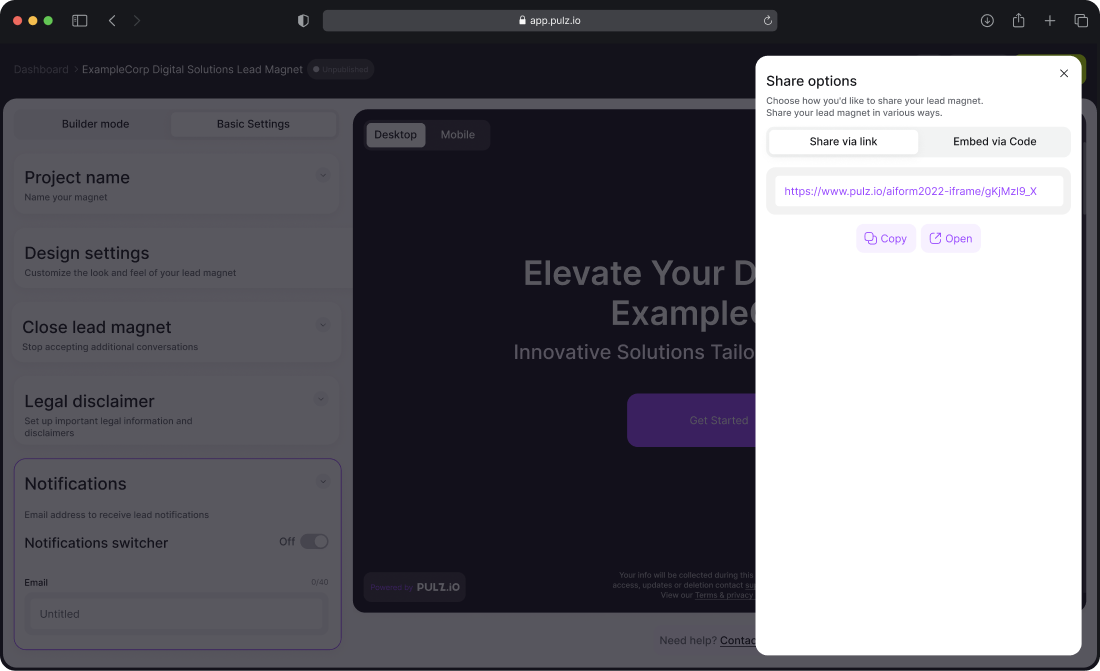
Publish and Share: When all is done, publish and share your Lead Magnet to start engaging with your audience.
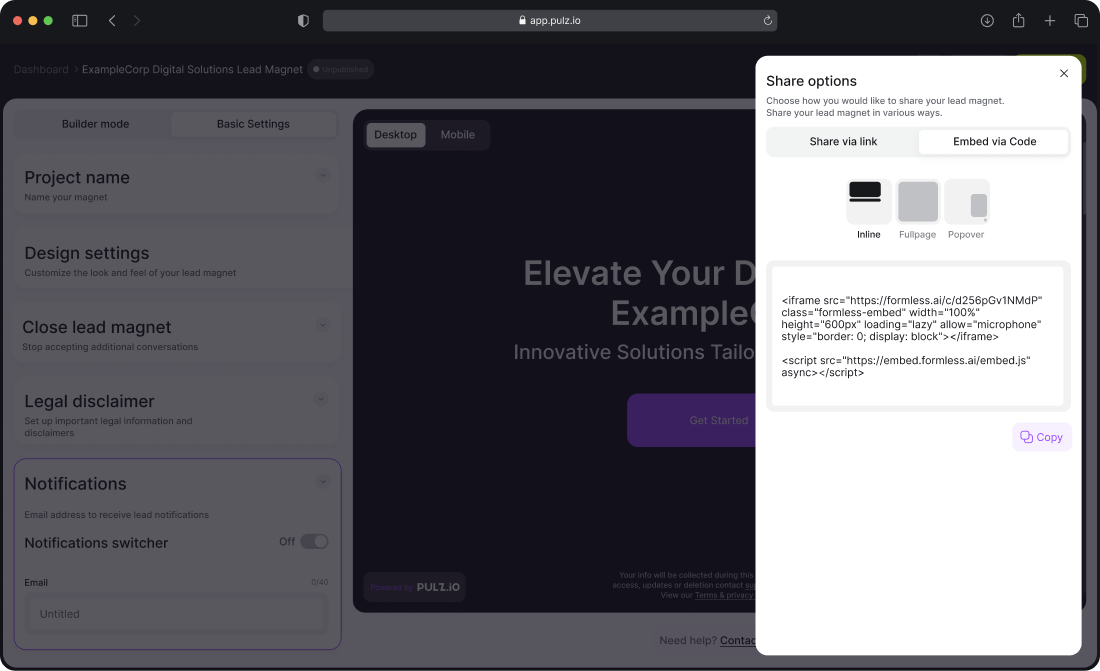
Editing Your Lead Magnet
Navigate to Lead Magnet Section: Go to the “Lead Magnets” section from the top navigation bar.
Find the lead magnet you want to edit from the list.
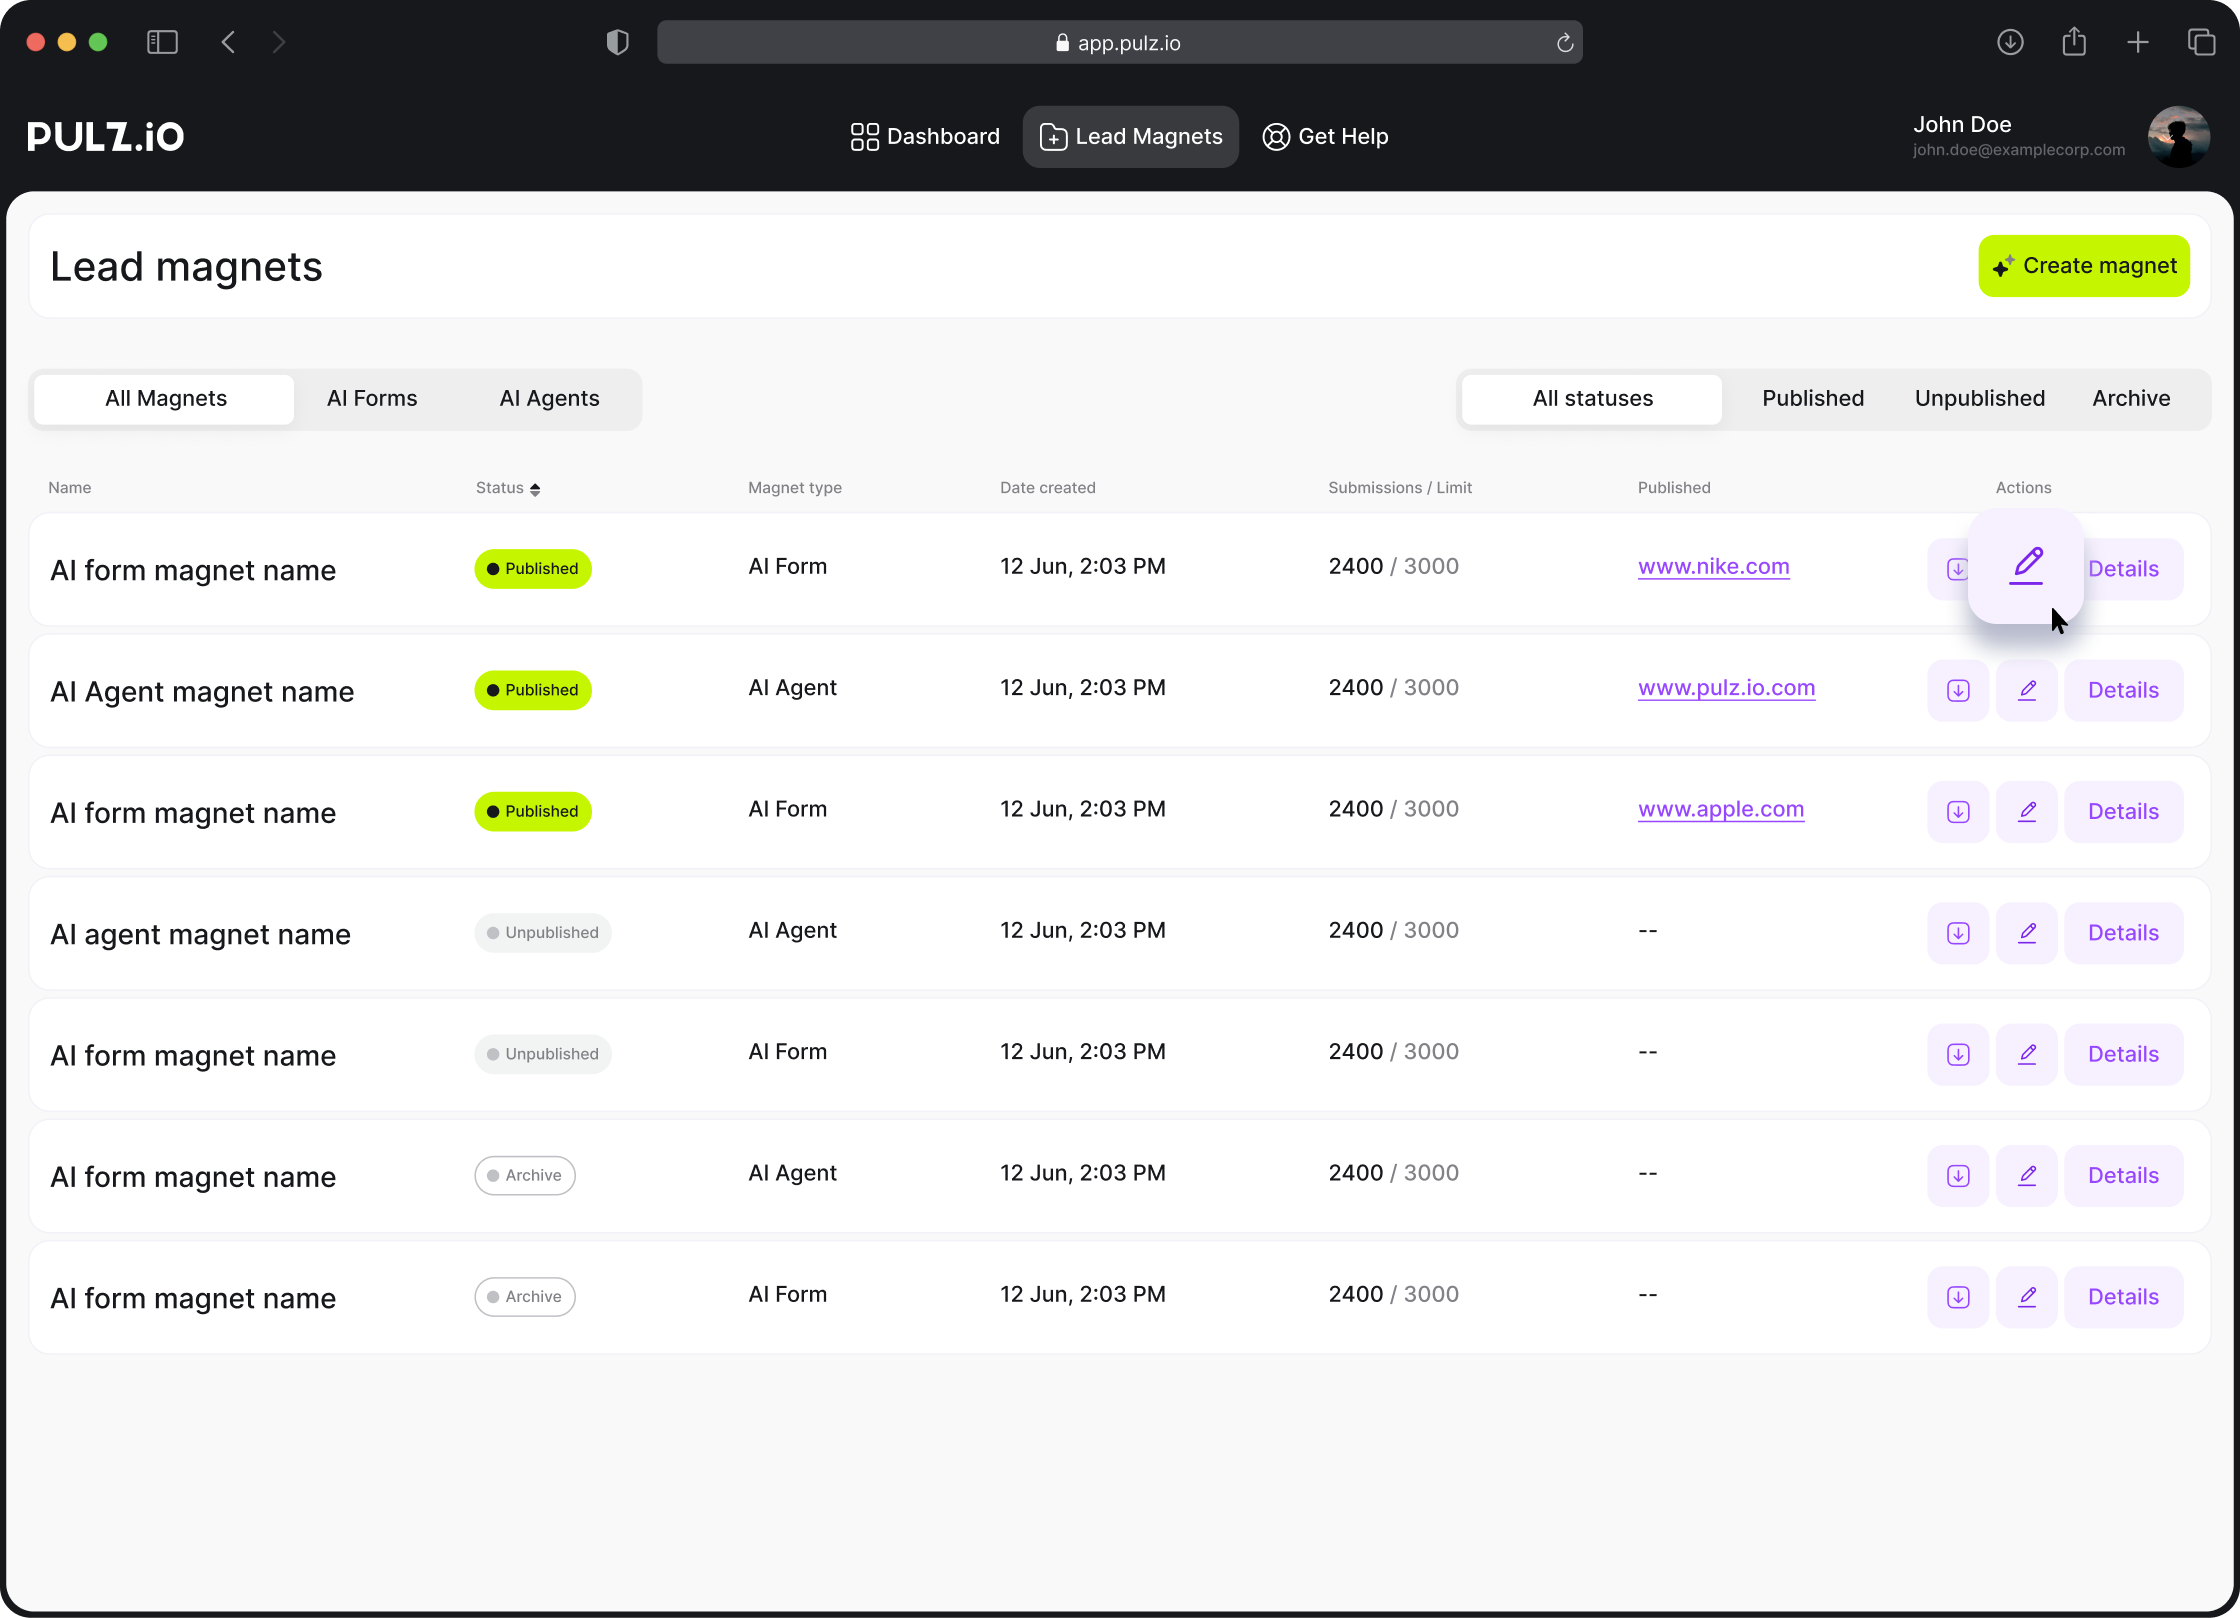
Enter Editing Mode: Click on the edit icon next to the lead magnet to enter the builder mode.
Make necessary edits in the builder mode.
Draft Mode and Saving: When you edit a lead magnet, it will revert to draft mode. Modifications will not appear in real-time on the live lead magnet.
Save the lead magnet again to publish the updates.
Your Pulz.io Success Hub. Get the Support You Need, When You Need It
Navigating AI-driven technology can be complex, but you’re not alone on this journey. Our Success Hub is equipped to guide you through every step, ensuring you maximize the benefits of Pulz.io with ease. Whether you have a question about setting up your AI-driven user journeys, need help optimizing your forms, or just want to learn more about how to make the most of our platform, we’re here to help.